Connecting Your Sage One Account to shopVOX
With your shopVOX account, you have the ability to sync customer data to your SAGE accounting software. All customer information, transactions and payments will start in shopVOX and be synced to SAGE. This will save you time by not having to recreate customers or transactions. You will also have the invoices at your fingertips and they can be emailed directly to your customers from your shopVOX account.
When you start to use shopVOX, anything that is customer facing will always start in shopVOX and will then go to SAGE for accounting.
Steps to connecting your SAGE account to shopVOX
Here is your first task. Connecting SAGE to shopVOX so they are talking to each other.
- Go to Settings, then click on Accounting
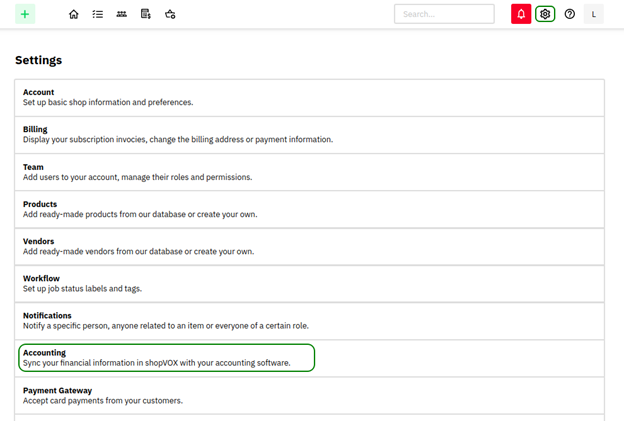
- Choose SAGE from the list
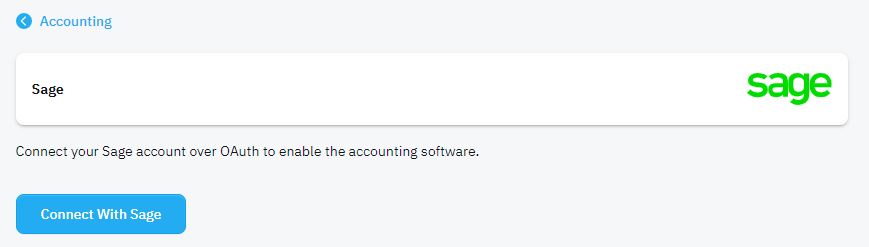
- Connect to SAGE and authorize the connection
- Login to SAGE
When you click on Connect with SAGE it will redirect to SAGE login page, there you need to enter your SAGE credentials. You may need to authorize this connection, click allow on the next page.


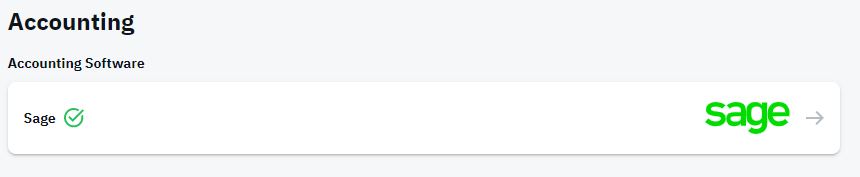
- You are connected!
shopVOX is now connected to SAGE. It will show connected account in accounting page as shown below.
Importing details from your SAGE account
Now that you are connected, you can copy a few things into shopVOX, which will save you time. The items you can copy are:
- Customers and contacts list
- Sales Tax rates
- Chart of Accounts items
Importing Customers and Sales tax rates is done by clicking the Copy from SAGE button in each section. The Chart of Accounts can also be copied as well. Before you do this though, you will need to confirm the account types you will need in your SAGE account.

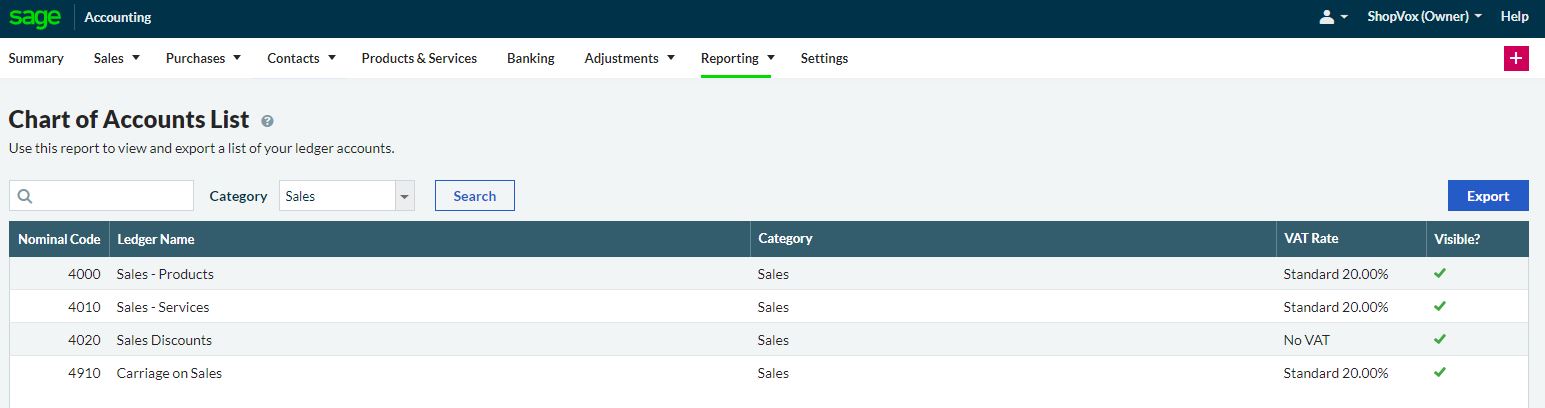
- Verify your Chart of Accounts list in SAGE
The Chart of Accounts is the backbone of your accounting system. Below are the items required to sync properly to shopVOX.
✅ You need to copy the following accounts from SAGE:- Sales - Products or Sales - Services
- Cost of Sales - Goods
- Prepayments (undeposited funds)
- VAT on Sales
🚫 You do not need any of the following type of accounts from SAGE:
- Expenses
- Other Bank Accounts
- Accounts Payable
- Other Liabilities
- Other Assets
- Copy COA items to shopVOX
Go to Settings, then Accounting. Now, scroll down you can see list of Chart of Accounts,
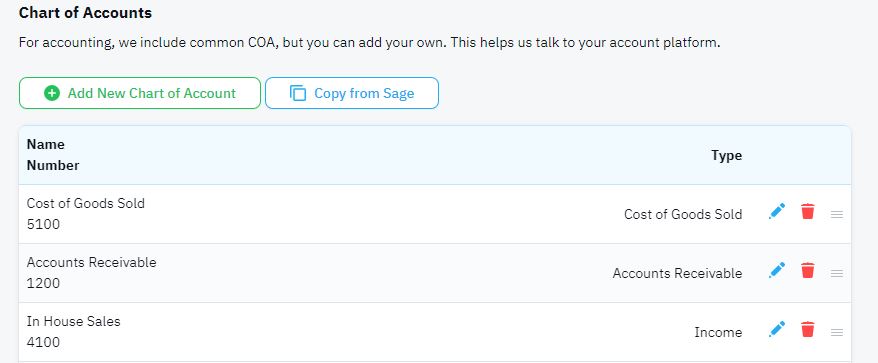
You have two options to copy the information.
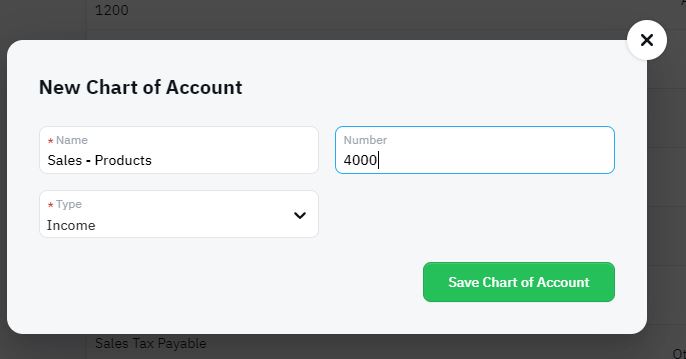
Option 1: You can manually enter each account by clicking Add New Chart of Account. You will then copy/ paste the information from SAGE to the appropriate fields in the pop-up window.
LEDGER FROM SAGE
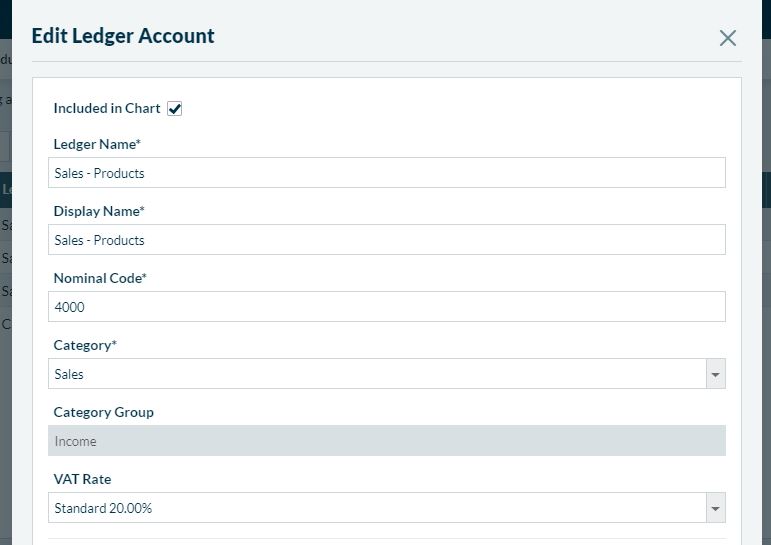
CREATE AND COPY INFO TO SHOPVOX CHART OF ACCOUNTS
Option 2: Click the Copy from SAGE button and you will see a list of accounts you can select and copy them all at once. Make sure you select all the items in the above list.

Adjusting shopVOX account to sync to SAGE
Now that you have all the parts you need copied exactly from SAGE, you can now make changes to shopVOX so everything will sync where it needs to go!
- Set up COA Mapping. Go to Settings, then Accounting. Now scroll down you can see COA Mapping
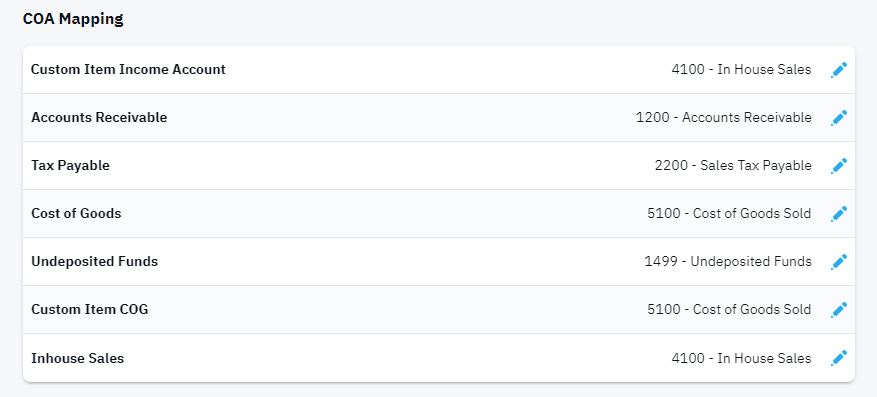
For all the "internal" shopVOX accounts, you need to select the matching COA account from SAGE
- The labels on the left represent the required accounts.
- The labels on the right represent your COA accounts mapped with required accounts.
- NOTE: These are the default accounts when you first created your shopVOX account.
- Click on the pencil symbol and edit the default mapping and add your copied COA’s

- Making adjustments to Products in your account
There are two things you'll want to edit for each of our starter products.
- Income Account
- COG Account
Why is this important?
When your Invoices get posted to SAGE, you want to make sure the revenue from each line item goes into the correct Income account. This will keep your accountant happy.
In Settings click on Products

Click each Product. Click the Pencil Icon next to Income Account and COG account and select the appropriate account from the drop down list.
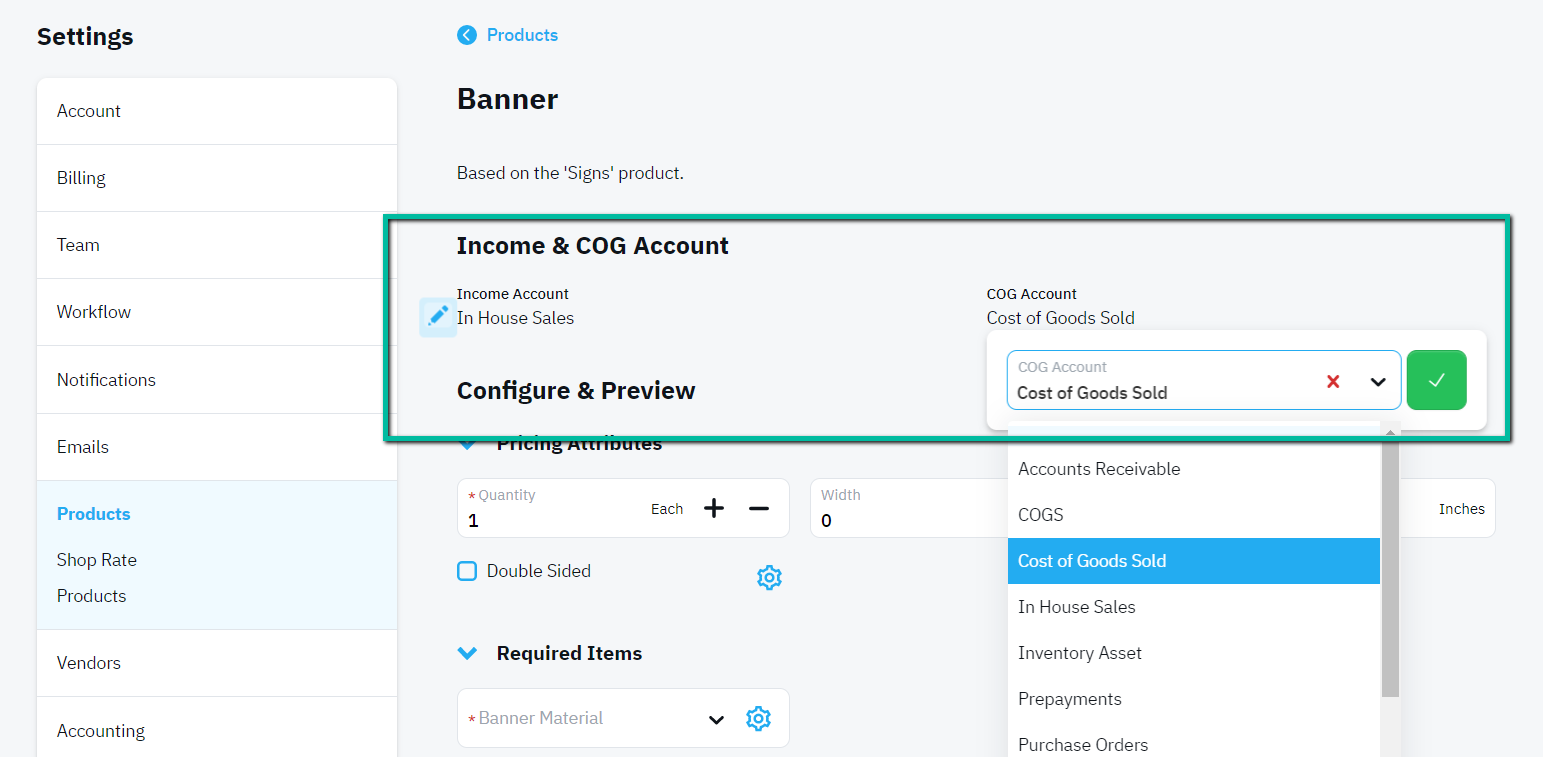
Make sure you do this for all the Products in your account.
Test sync to SAGE
Sync a Test Invoice and Payment
It is important to test the integration before you start syncing real invoices and payments to SAGE.
- Create a test Invoice
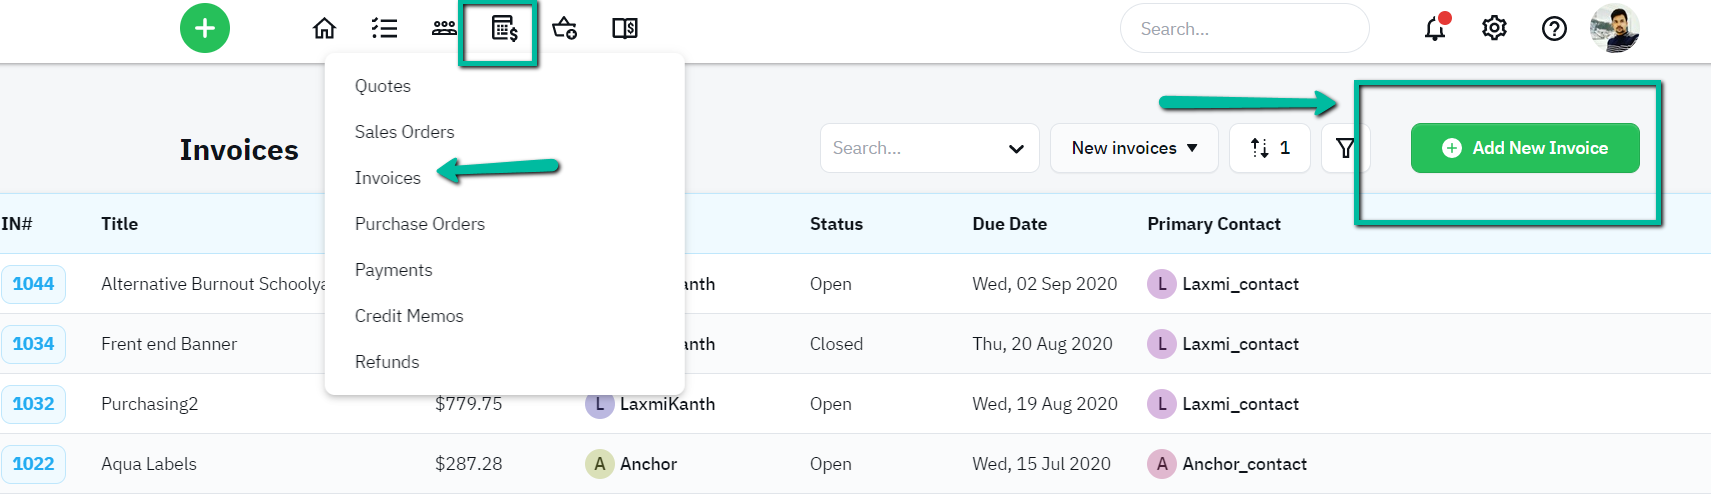
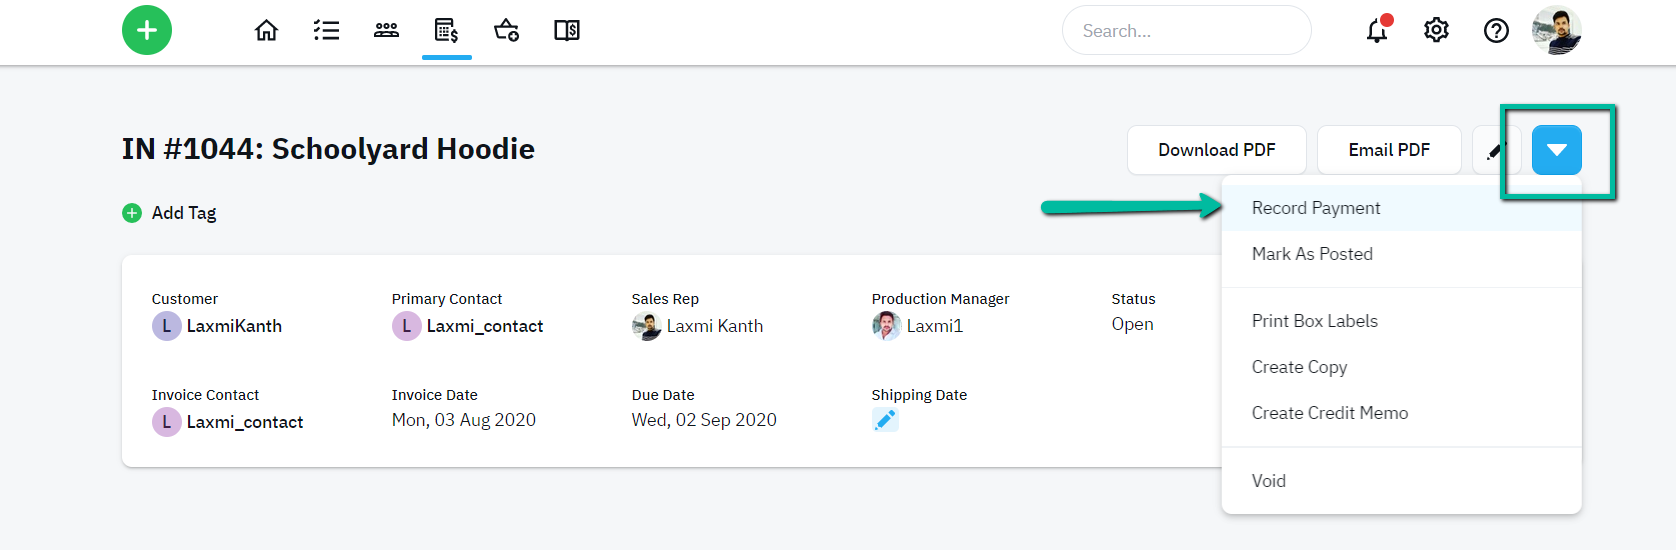
- Apply a test Payment to the Invoice
- Sync to SAGE by clicking on Post to Accounting
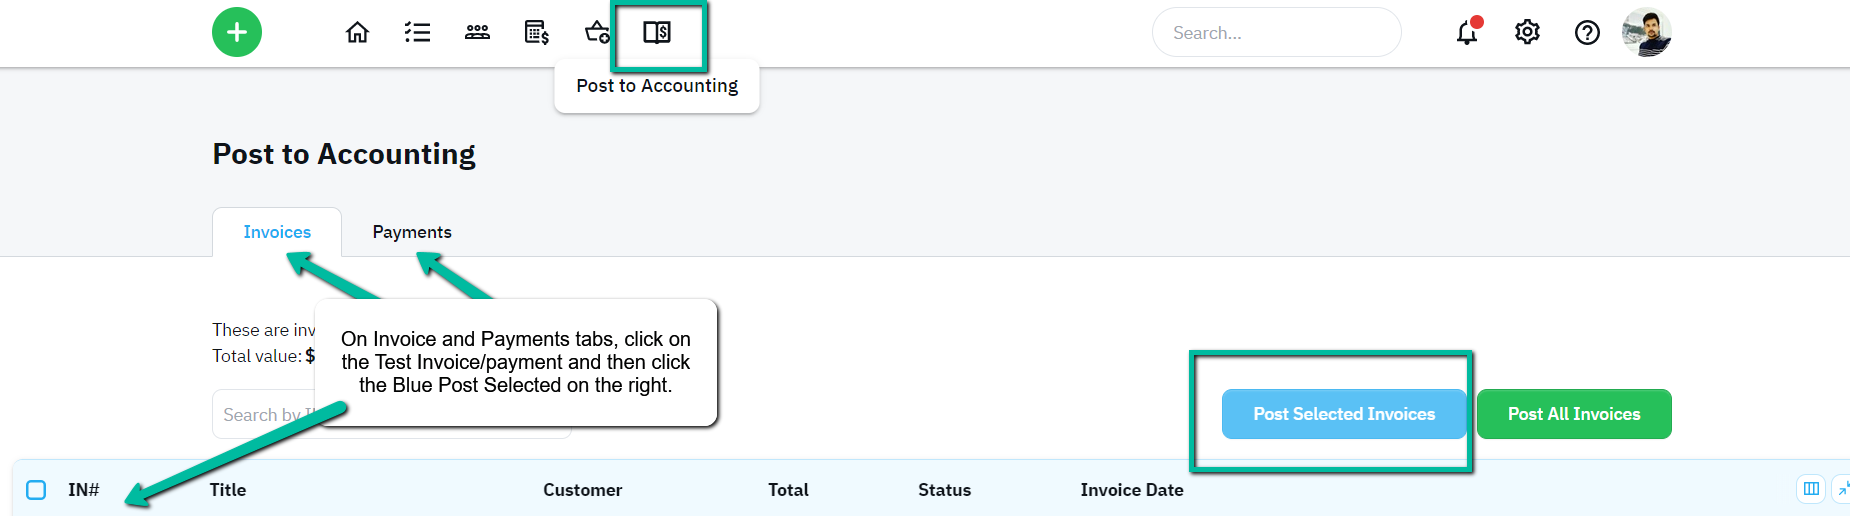
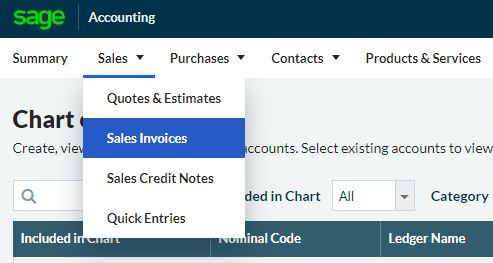
- You will now see the invoices that have sync'd across into Sage under SALES- SALES INVOICES. Check that it has copied across.
- Once successful, delete the invoice and payment from SAGE
- Void the invoice and payment inside SAGE
Welcome to shopVOX - SAGE integration!
You are now ready to create transactions in shopVOX and when they are completed and invoiced you can easily sync them to SAGE. It is recommended to sync at least once a week!