Table of Contents
How to price Direct To Garment printing
 Updated
by Aaron Aldrich
Updated
by Aaron Aldrich
Direct to Garment printing (DTG) has exploded in popularity in recent years and can be a good alternative to screen printing on super small orders or designs with tons of color. Pricing for direct to garment printing is largely market-driven so we use a matrix based approach.
Adding Direct To Garment Printing to Transactions
Got some candidates that are better suited for DTG on this order? Here's how to add it to a quote.
- On the quote, sales order, or invoice, click Add New Item
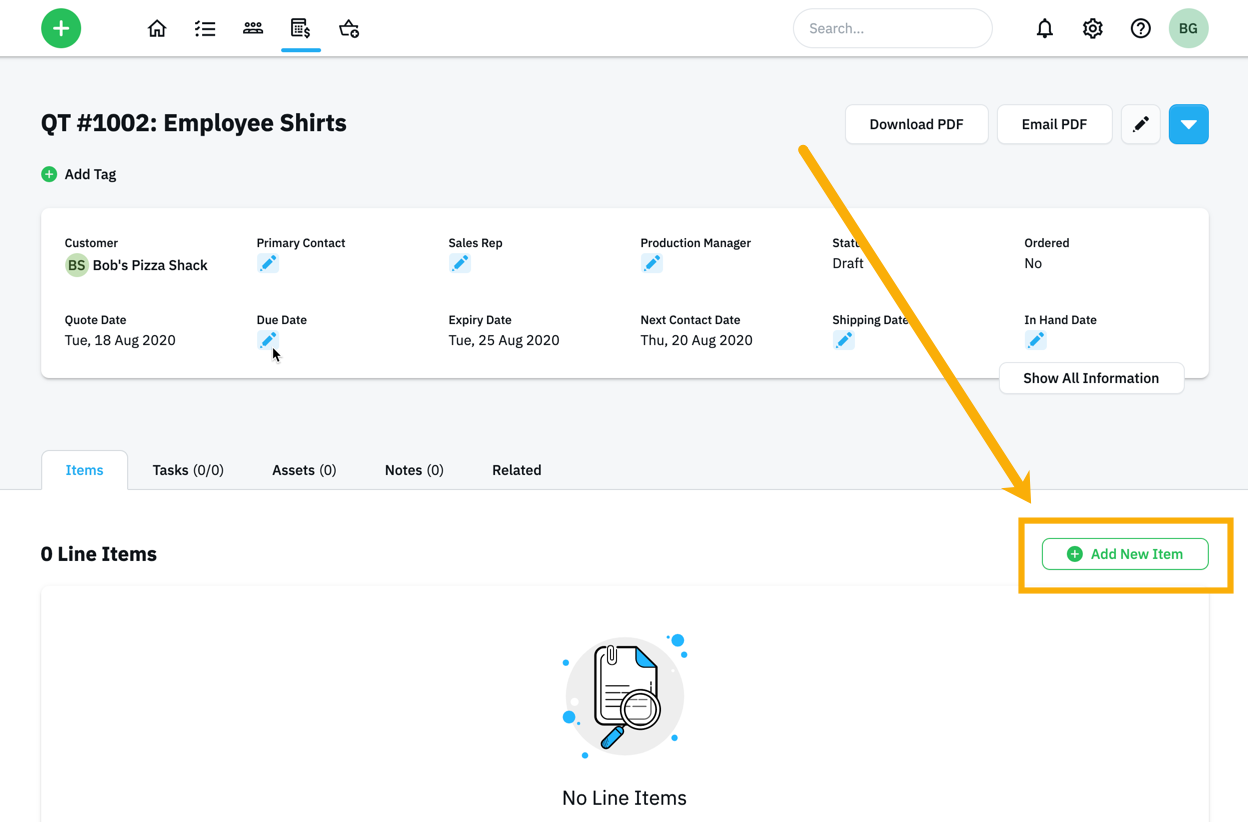
- Search for
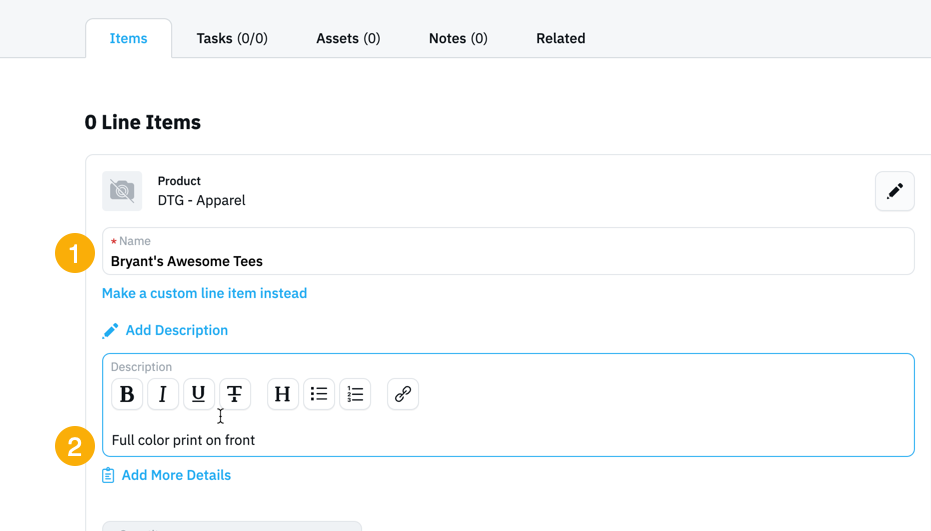
DTG - Apparelor just select it from the Product dropdown
- Change the Name and add a Description (optional) for your customer. Your customer will see both of these fields so don't use any industry jargon.
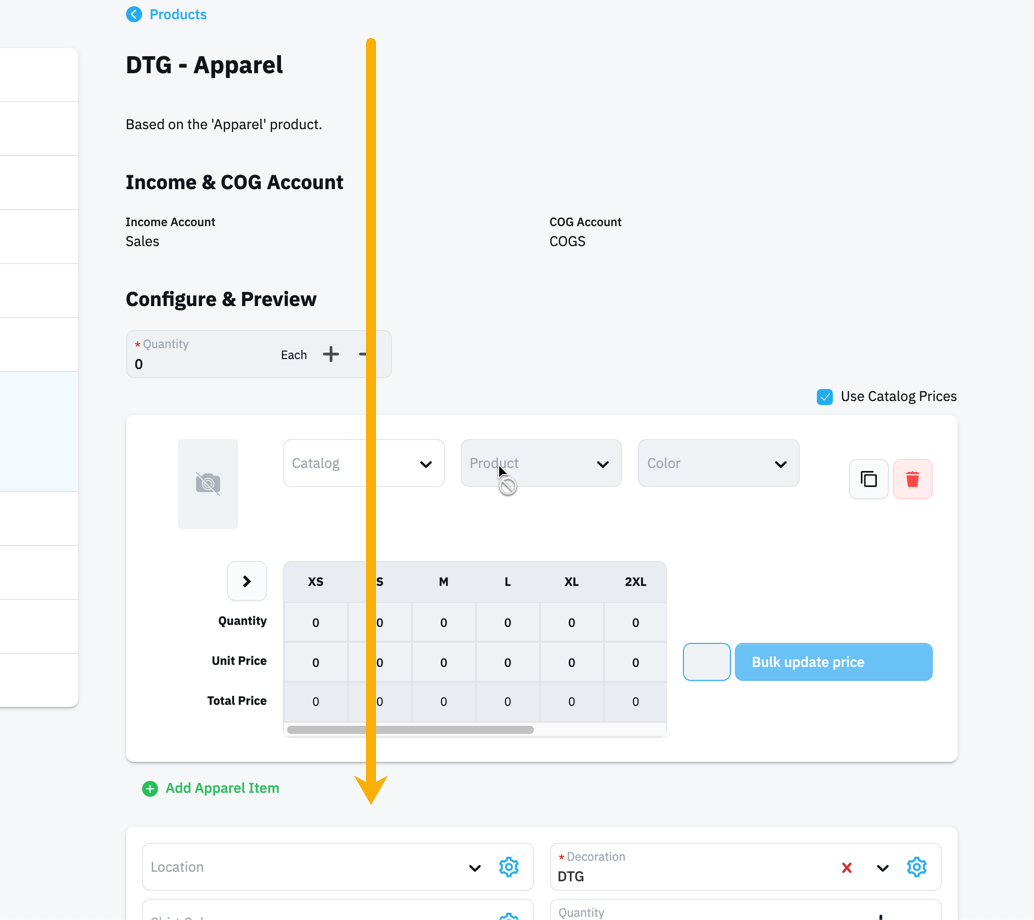
Add Your Apparel
- Choose a Catalog to search for apparel.If you need a garment that's not available from our integrated vendors, choose the Custom option.
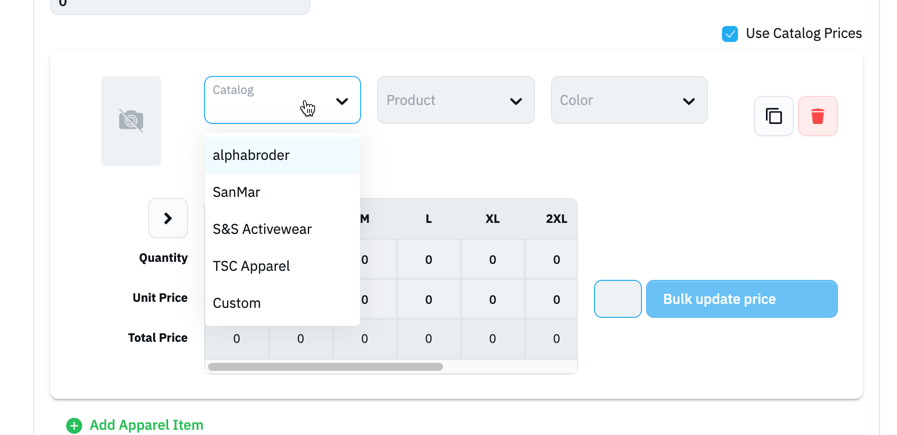
- Search for the Product by style number or name. Style number is usually quicker.
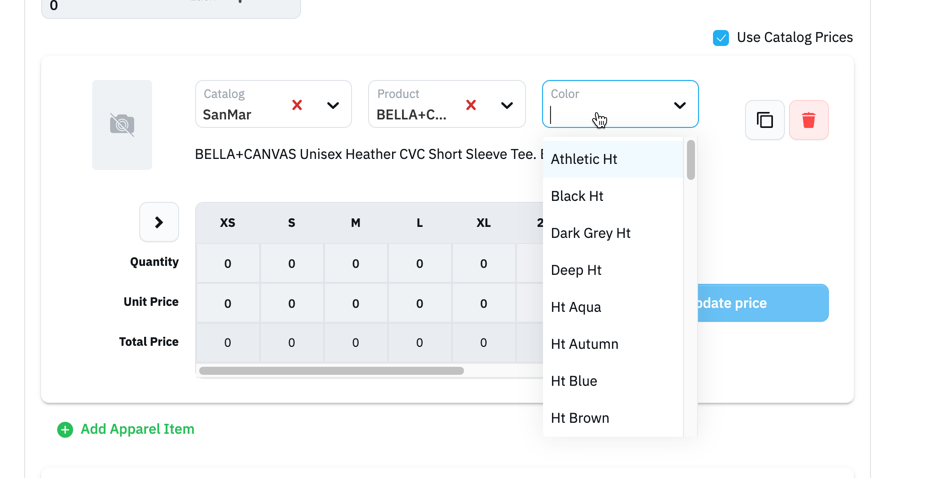
- Select the Color your customer wants.
- Fill in the quantities for all the sizes that your customer wants.
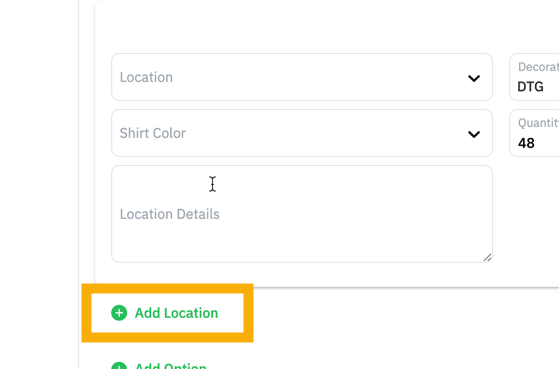
Add Your Locations
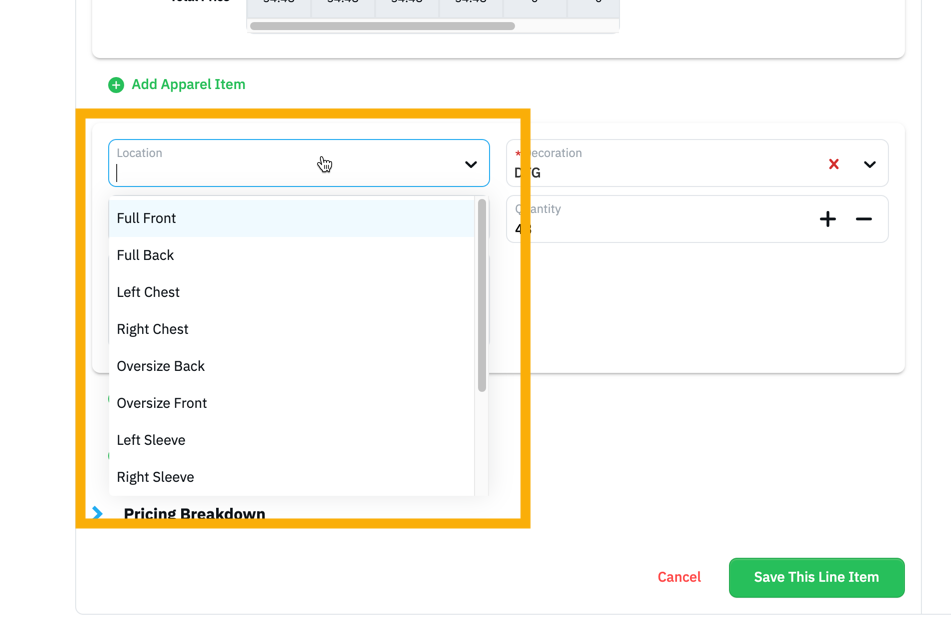
- Select the Location that you are printing.
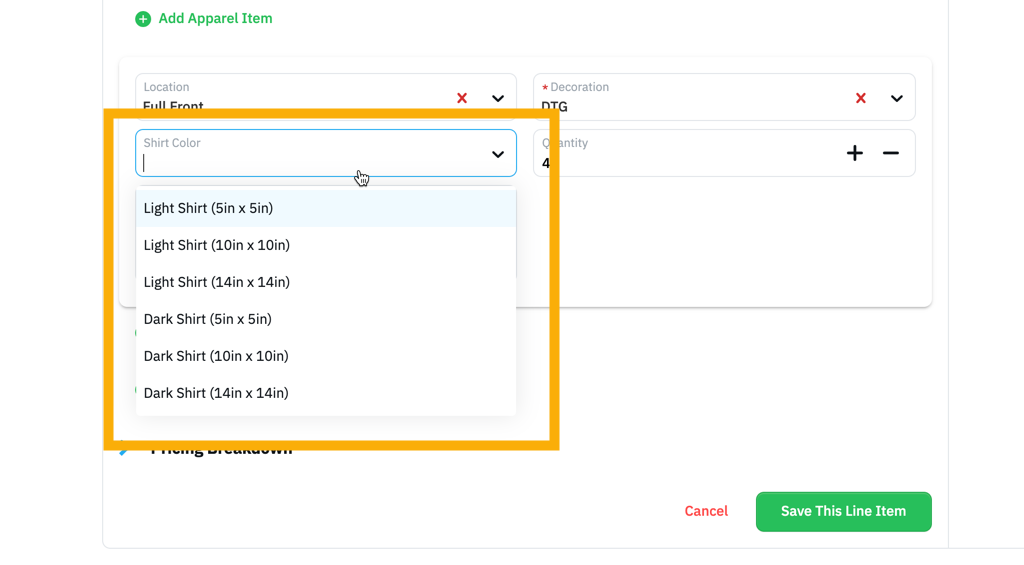
- Choose the Print Type.We use a range of sizes to make estimating easier. Often you will not know the exact size of the artwork, but should know an approximate size.
- Enter any additional notes in Location Details. (optional)
This could be the exact size of the artwork if you have it, the file name if it's stored on your server, or the details of the design if your customer doesn't already have artwork.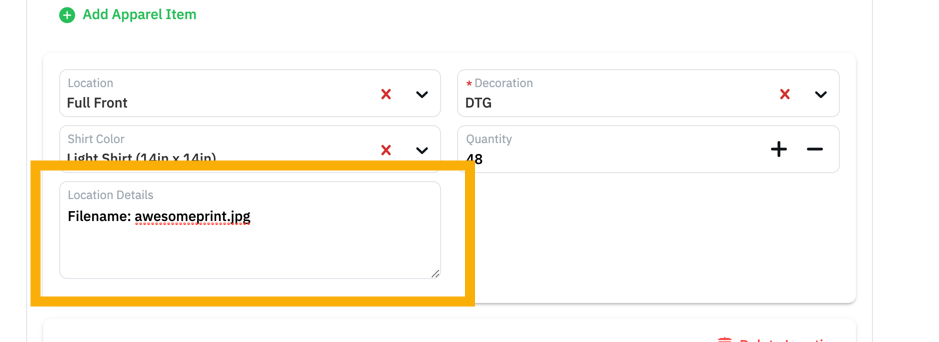
- Add any additional locations by click Add Location (optional).
- Repeat steps 8,9, and 10 above for each additional location.
Add Any Options
Options are typically value added services like folding & bagging or special inks. They are charged per garment.
- Click Add Option
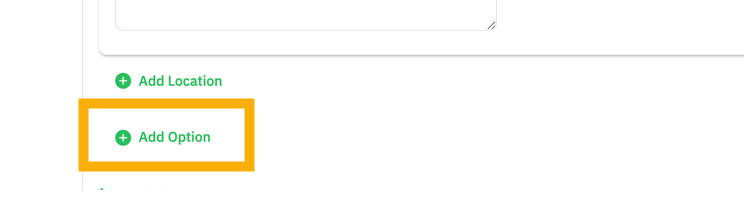
- Choose an Option from the dropdown.

- In the Option Details field, type any important notes about that option.
For example:customer is supplying hang tags or size stickersor leave6 larges un-bagged for them to use as samples
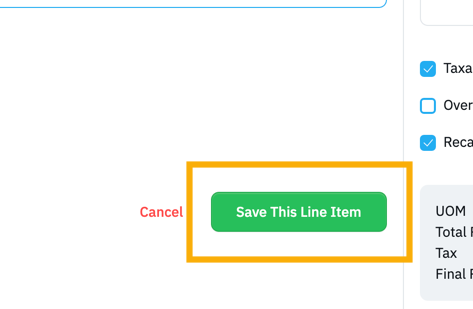
- Click Save This Line Item
Adjusting Pricing for Direct To Garment Printing
Want to change our standard price matrix for DTG? Open your current pricing spreadsheet or PDF and follow along.
- Go to the Settings page
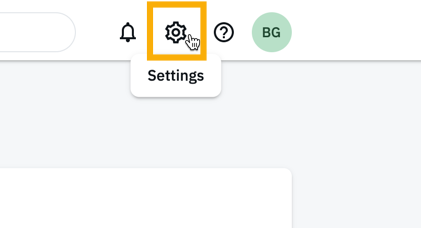
- Click Products

- Find and click on
DTG - Apparelin your products list.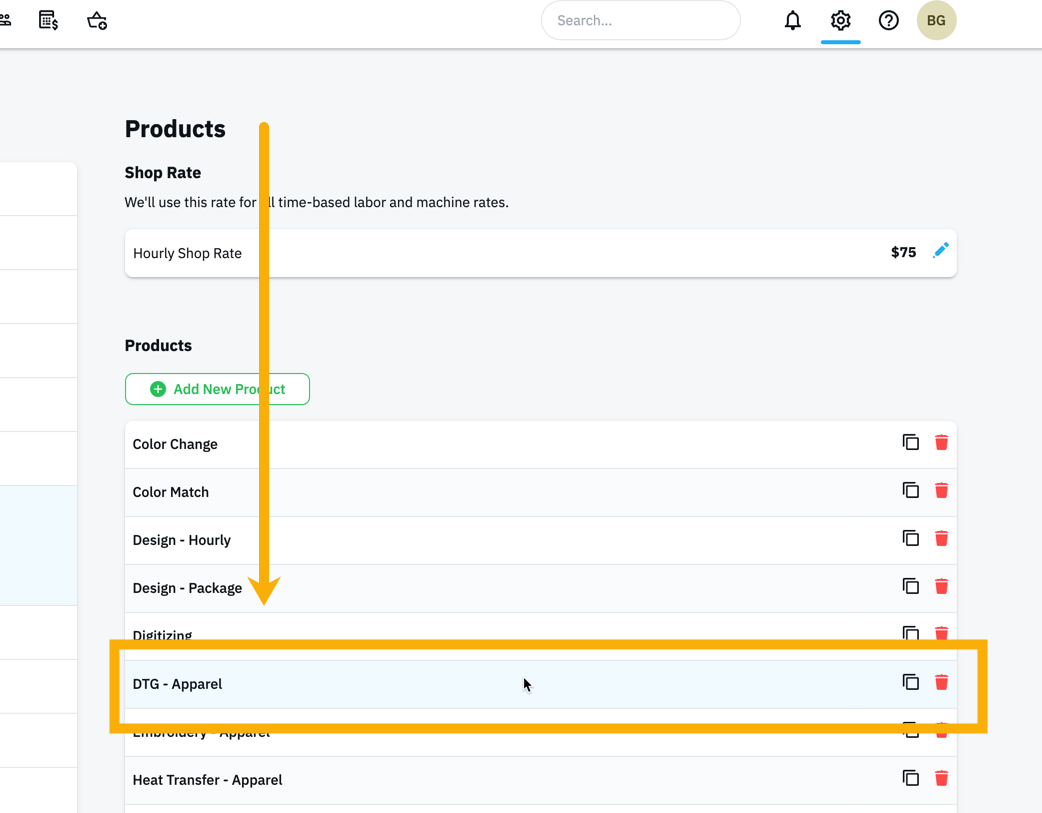
- Scroll down to the Locations section.You can adjust your pricing and test it at the same time on the Product Setup page. That's a huge time saver! No more switching tabs to test your pricing.
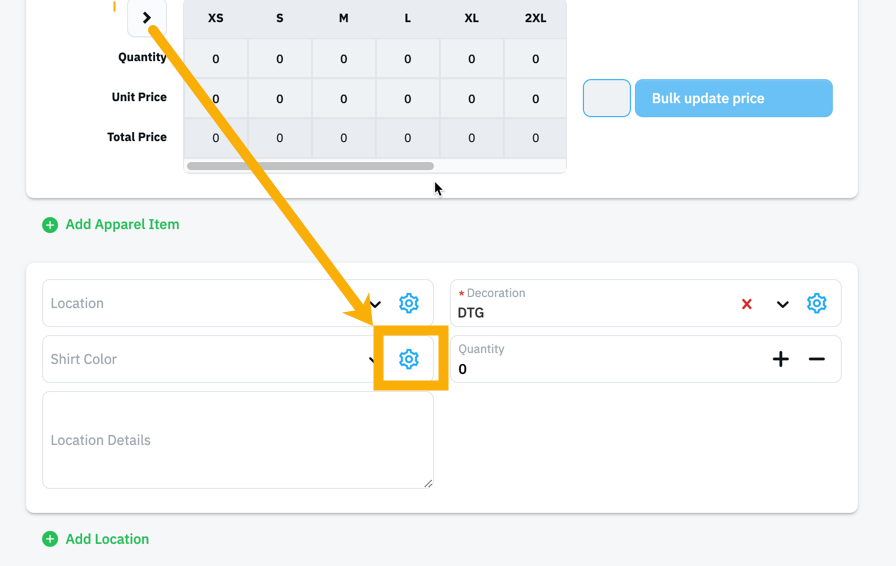
Changing the Print Type
- Click the Settings (⚙) icon on the right side of the Shirt Color field.
- Change the options to match your pricing. Values are automatically saved after you input them so just close the window once you're done.The options listed here become the columns in your price matrix.
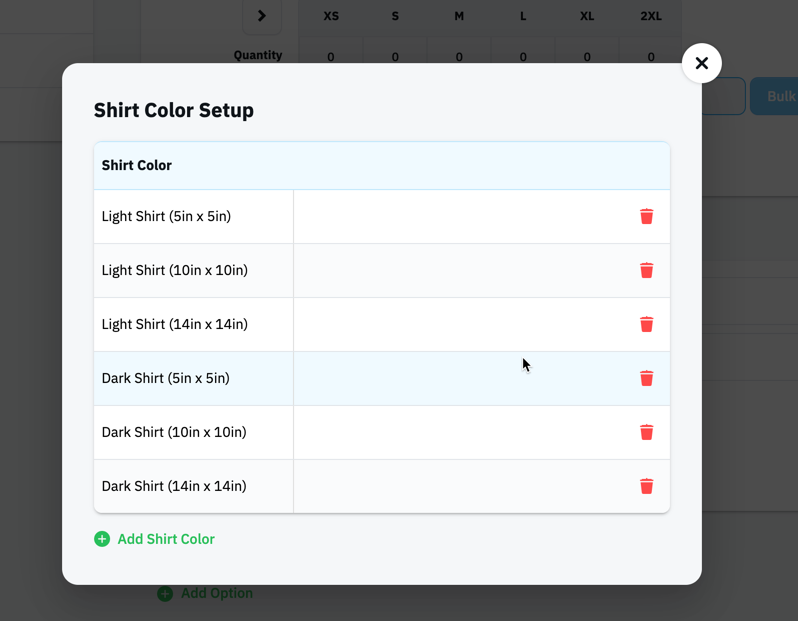
- Click on any existing option to rename it or delete it using the Trash button.
- Add new options by clicking Add Shirt Color
Changing the Price Matrix
- Click the Settings (⚙) icon on the right side of the Decoration field.
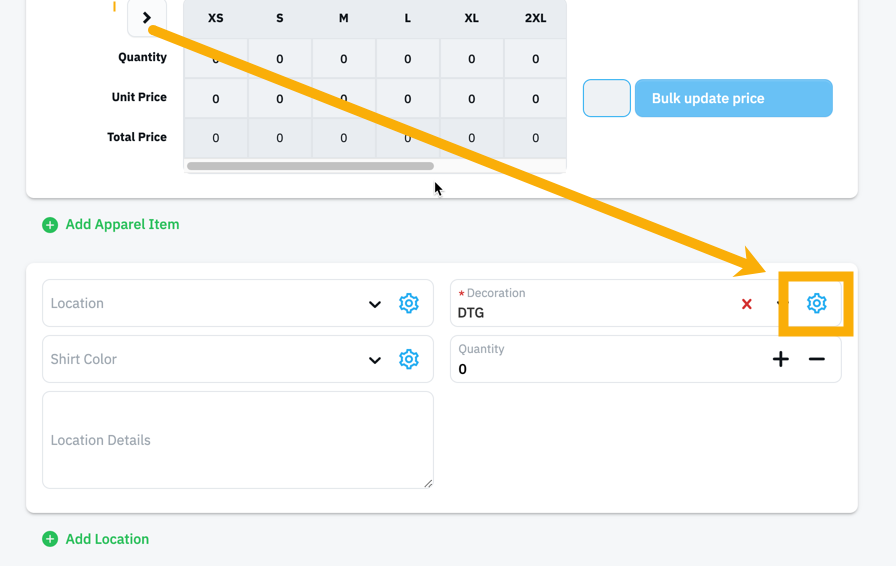
- Add your existing pricing to the matrix. Values are automatically saved after you input them so just close the window once you're done.
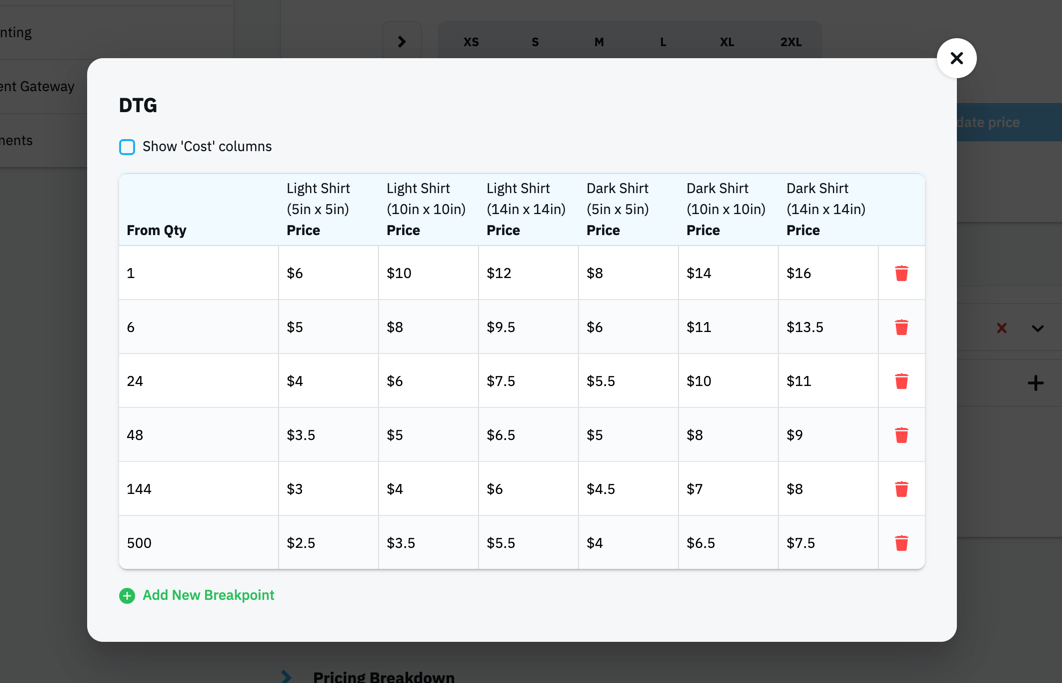
- The number of garments your customer orders determines which row is used for price calculation. In this example, if your customer orders 1 to 5 shirts, then pricing from the first row would be used. If your customer orders 6 to 23 shirts then pricing from the second row would be used.
- Click Add New Breakpoint to add new rows or use the Trash button to delete existing rows.
If you outsource your direct to garment printing, you can also add your costs from your printer. Just check the Show 'Cost' columns box. Additional columns for the cost will appear in the table.
Changing the Print Locations
- Click the Settings (⚙) icon on the right side of the Location field.
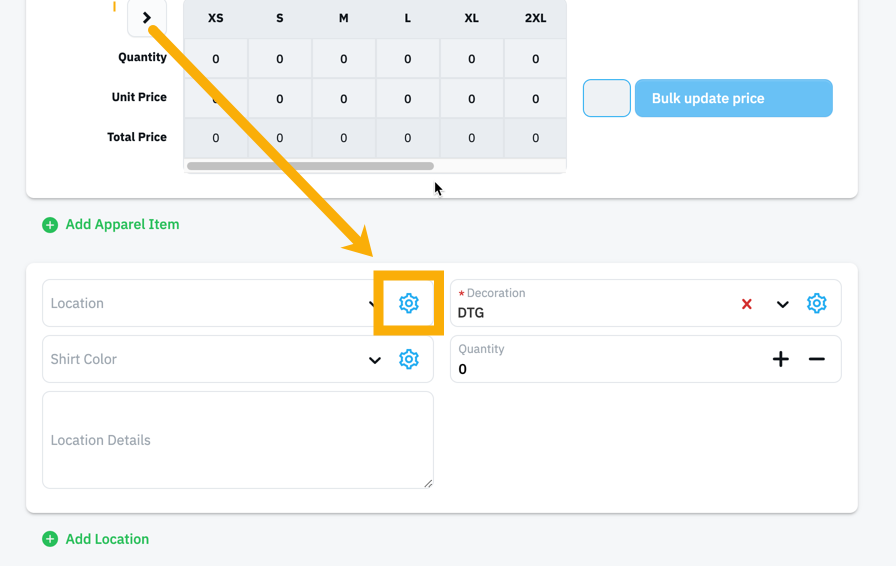
- Change the options to match your pricing. Values are automatically saved after you input them so just close the window.The Location options can be different for each decoration product so that you can only make certain locations available for DTG printing and have others available for Screen Printing.
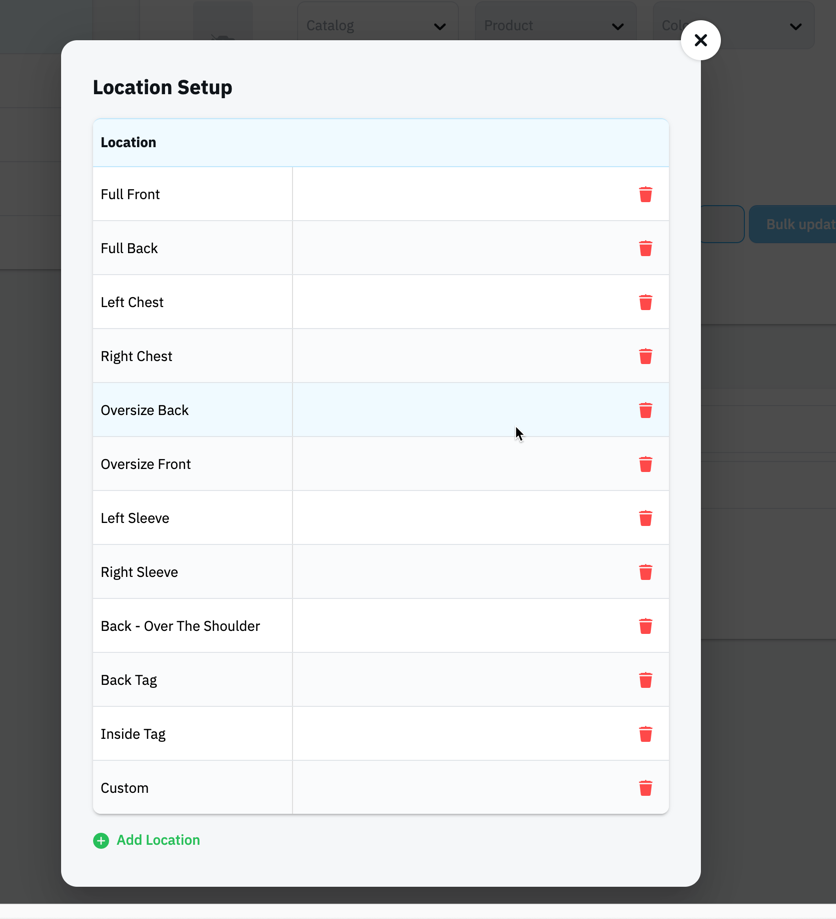
- Click on any existing option to rename it or delete it using the Trash button.
- Add new options by clicking Add Location.
Changing the Options
This is obviously optional 😉. But adding extra services can boost your revenue and can be added as part of the line item instead of listing them as a separate line item on the invoice.
- Click Add Option
- Click the Settings (⚙) icon on the right side of the Option field.

- Adjust the labor rates for the Option field. Once you're done, make sure you click Save Selected Labor Rates to save your changes.
- Labor rates that are checked show up in the dropdown. So uncheck the box beside any you want to remove and check the box beside any you want to show.
- You can edit the name and price for any existing labor rate by clicking the Edit button.
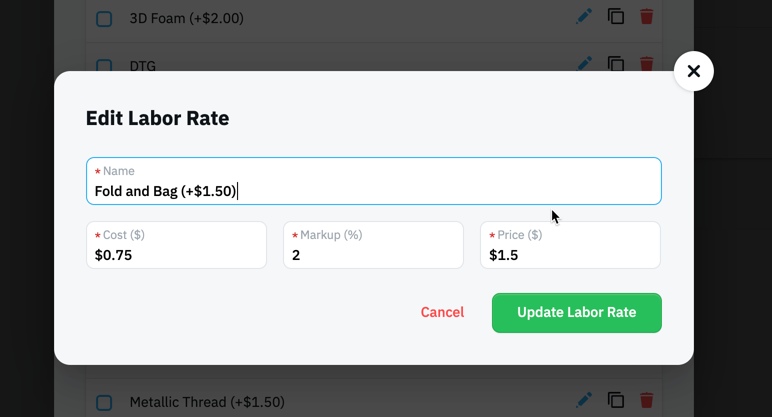
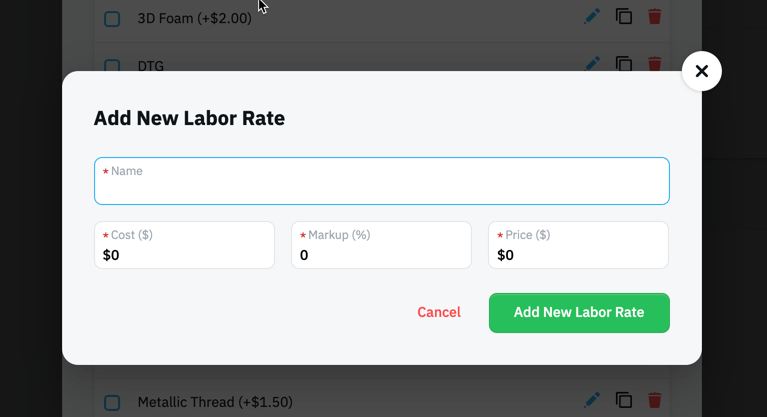
- Add a new option by clicking Add New Labor Rate