Uploading and Sending Proofs for Approval
 Updated
by Tyler MacDonald
Updated
by Tyler MacDonald
Obtaining approval from a customer for a proof is a crucial step before proceeding with production orders. While it should be a straightforward process, managing it through email can be quite cumbersome. Sorting through a barrage of emails exchanged with customers, deciphering revisions, and understanding the requested changes can be a real headache – we've all experienced it.
Fortunately, shopVOX provides an uncomplicated method for handling proofs, revisions, and customer approvals. This guide will walk you through the process of uploading a proof to a job and sending it to your customer. Let's begin!
Creating Jobs for your Job Board
Line items on the job board, originate from the sales order. You must first create jobs from your sales orders, before you can upload a proof to them. This process is very straight forward. Check out this tutorial to learn how to create new jobs - Creating jobs for tracking production
Uploading a Proof
- Open a job from your Job Board by clicking on the Jobs icon at the top and selecting one of the job names from the list. If you haven't already created a job for the line items on your order,
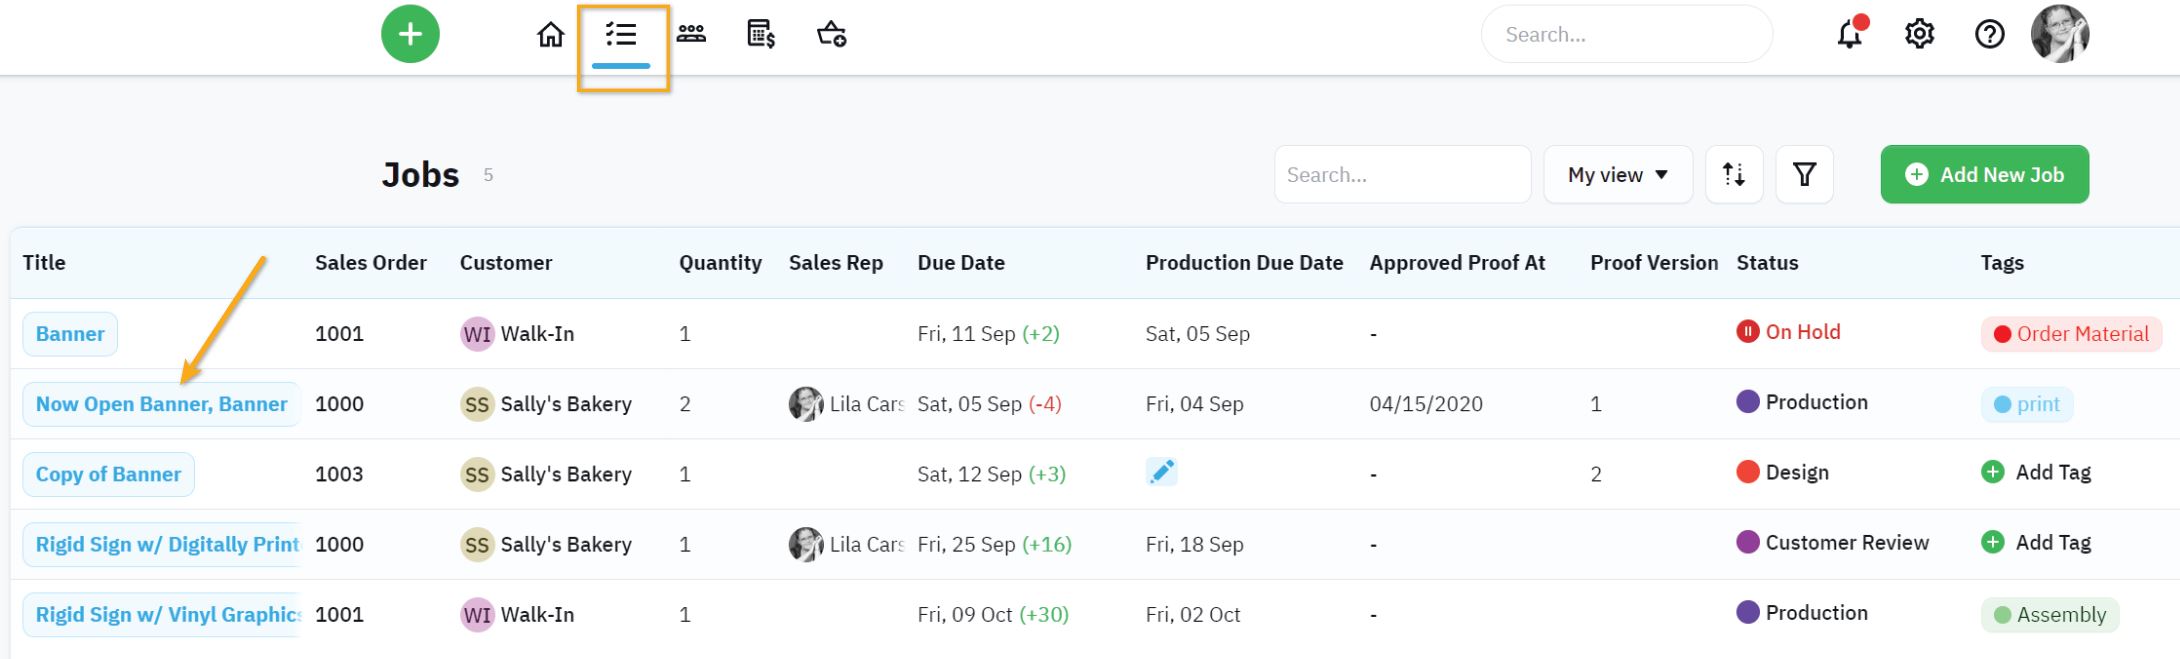
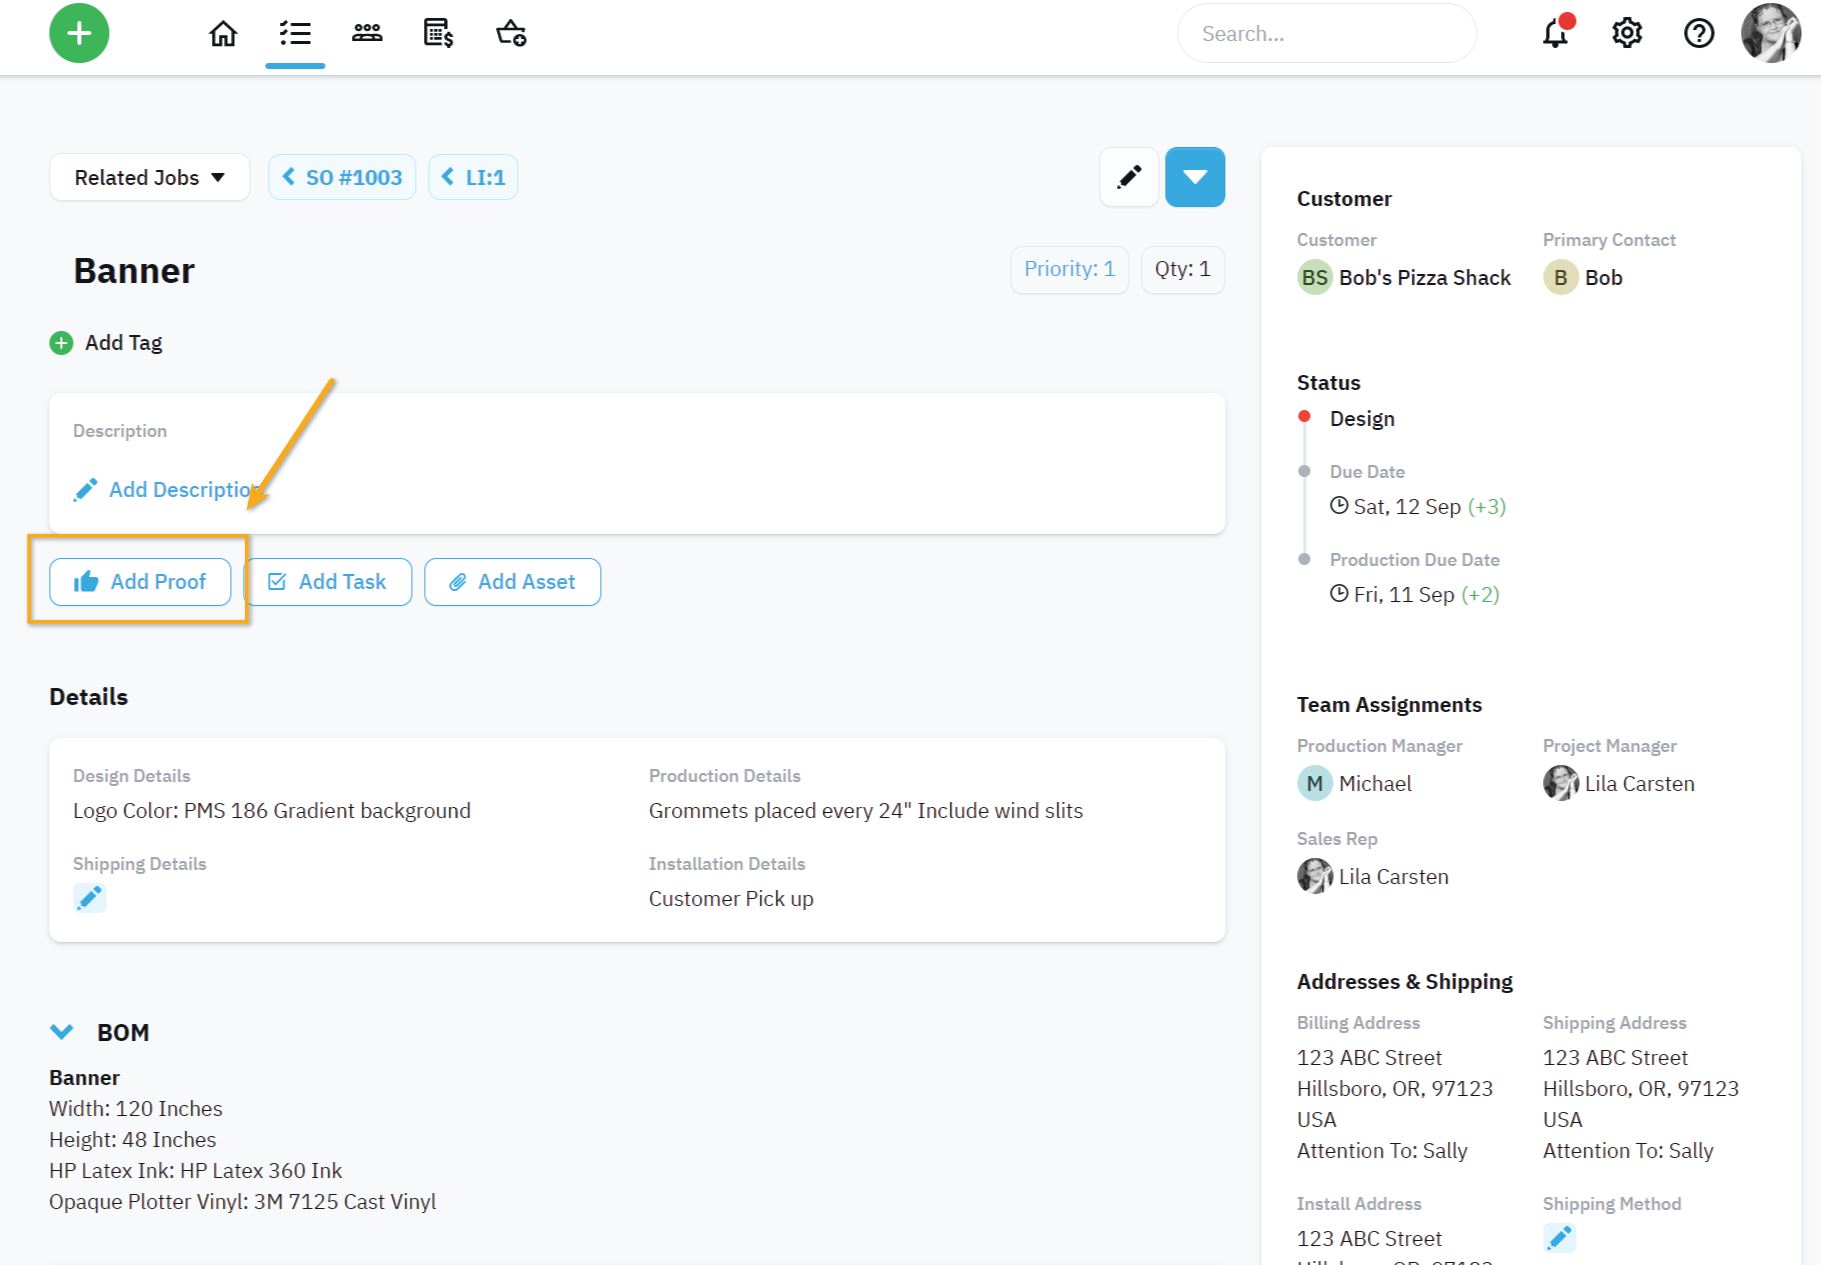
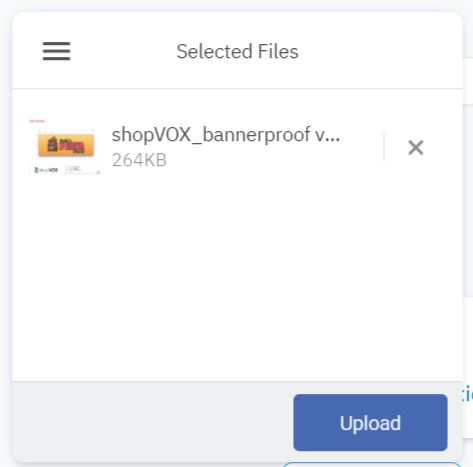
- Once you have the job screen open, this is where you will see all of the details to move the job through production. From here click on the blue Add Proof button and choose the file from your computer or storage server. Once you find the file, click Upload and save.
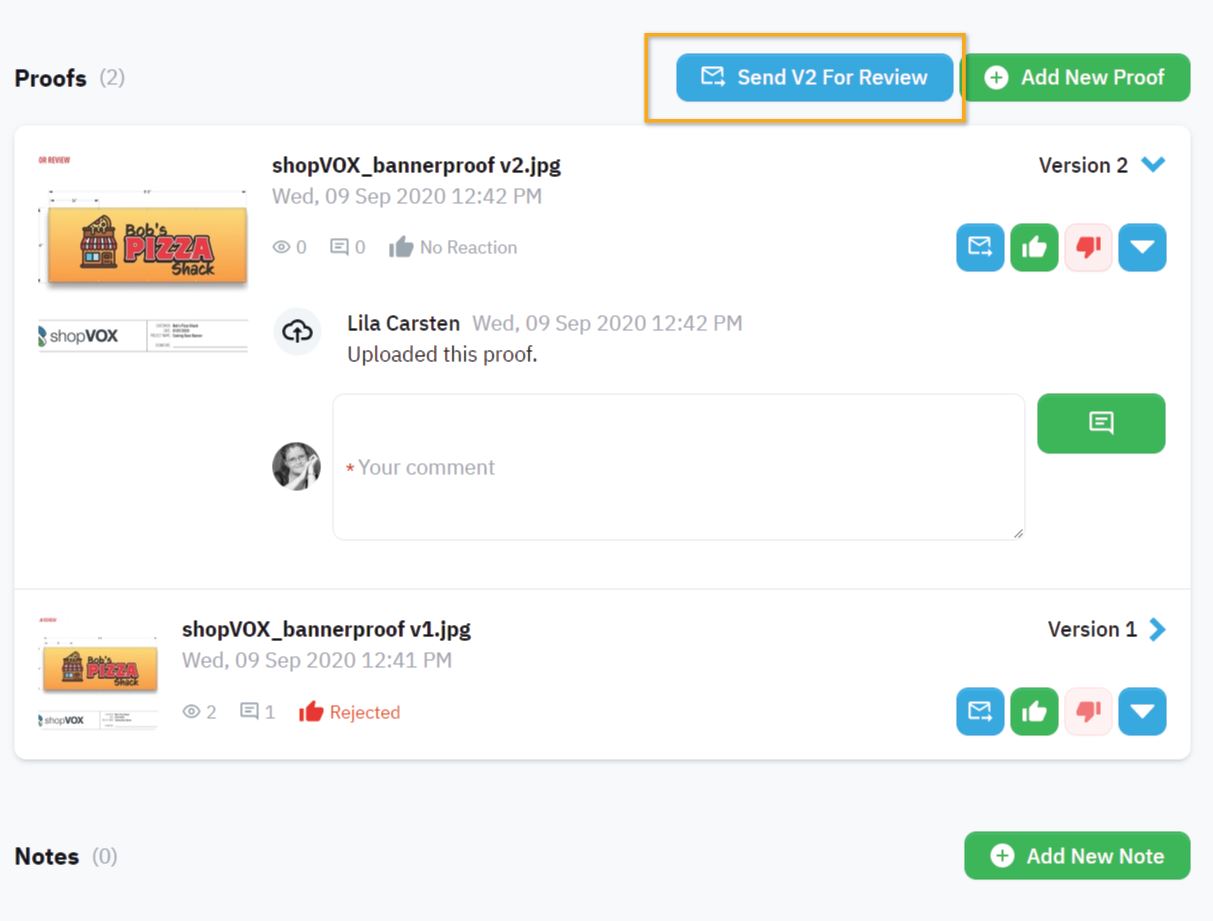
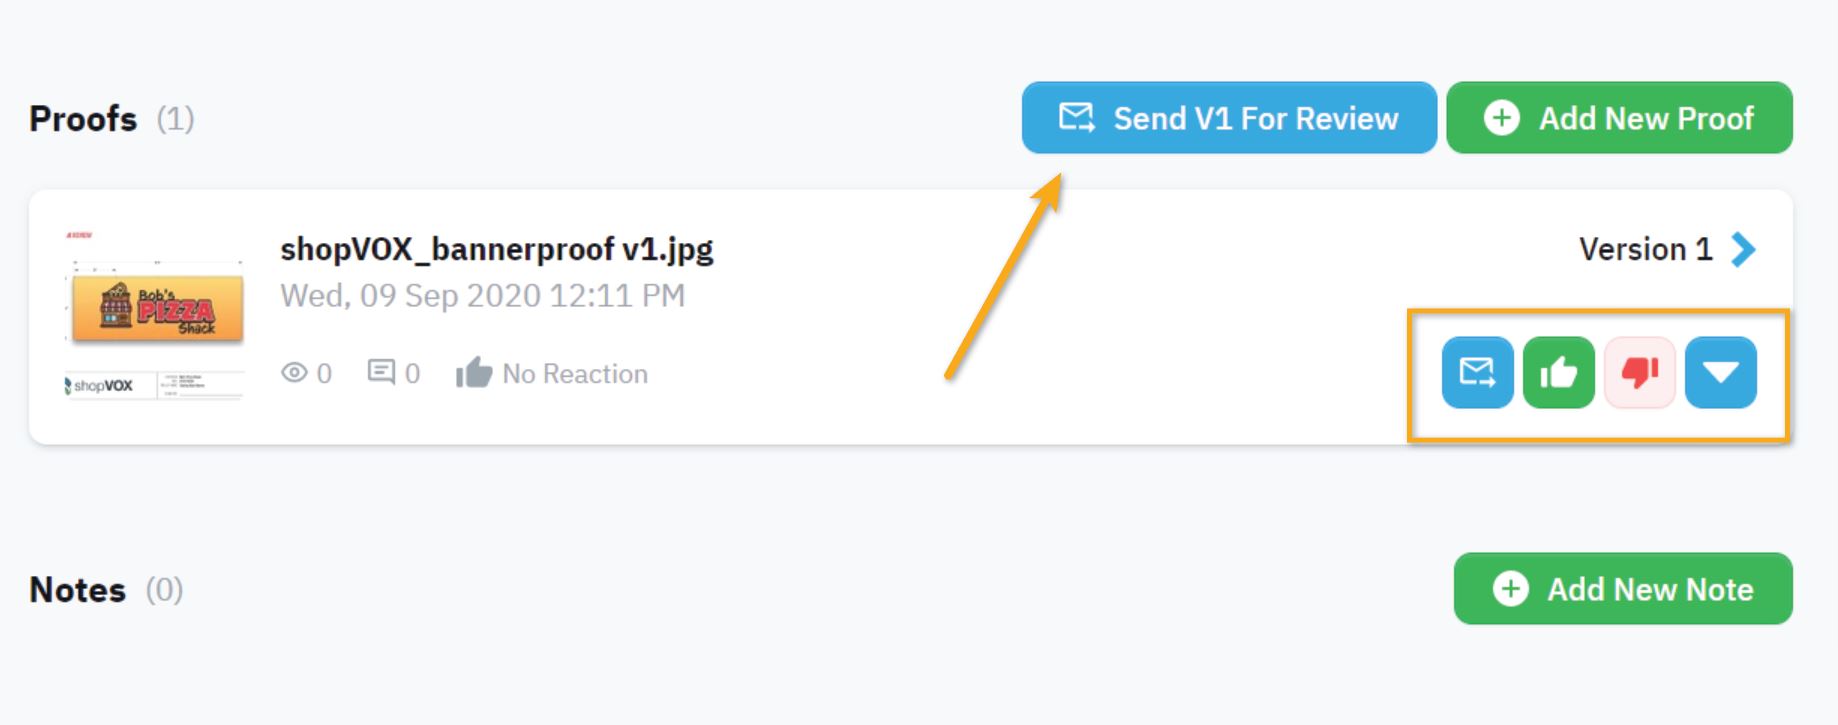
- Now your proof is uploaded to the job screen! Scroll down to the Proofs section of the screen and you will see a small thumbnail of your proof. Next step is sending it off to your customer.
Sending Proofs to Customers for Approval
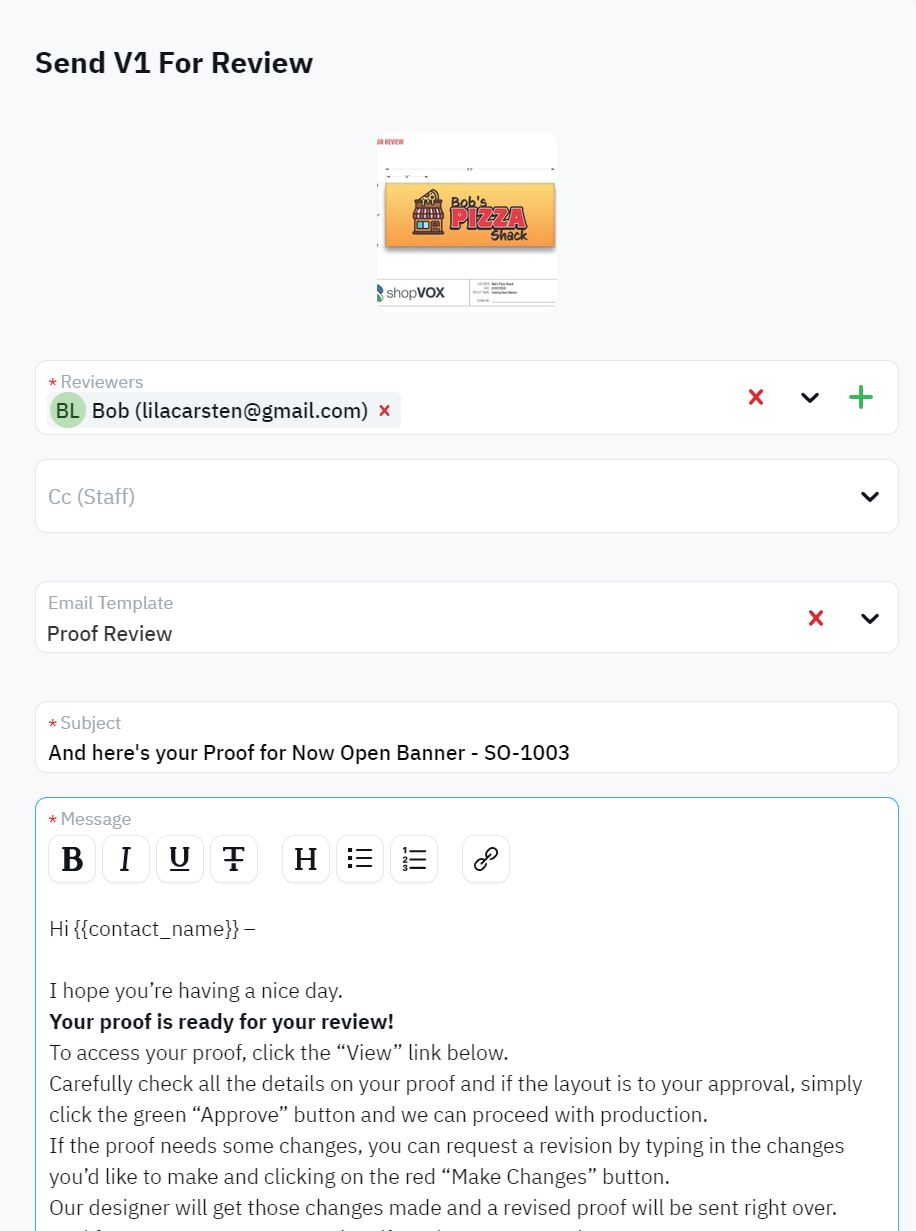
- Your proof is ready to be sent - simply click the blue Send V1 For Review button, and this will launch the email feature inside shopVOX where you can choose your recipient (or add a new one), pick a pre-made email message, and send off the proof for review. If you want to learn more about customizing your email messages, check out this tutorial - Created Canned Message Templates for Your Team to Use
You'll notice that you have a few icons that you can use to manually approve or decline the proof, email the proof again, or the blue action icon will give you more options.
- Your customer will receive a link to view, approve, or ask for changes to the proof online. These functions are directly connected to your proof in shopVOX so this link is tracking all of the activity from your customer. This is an example of what your customer will see on their proofing link.
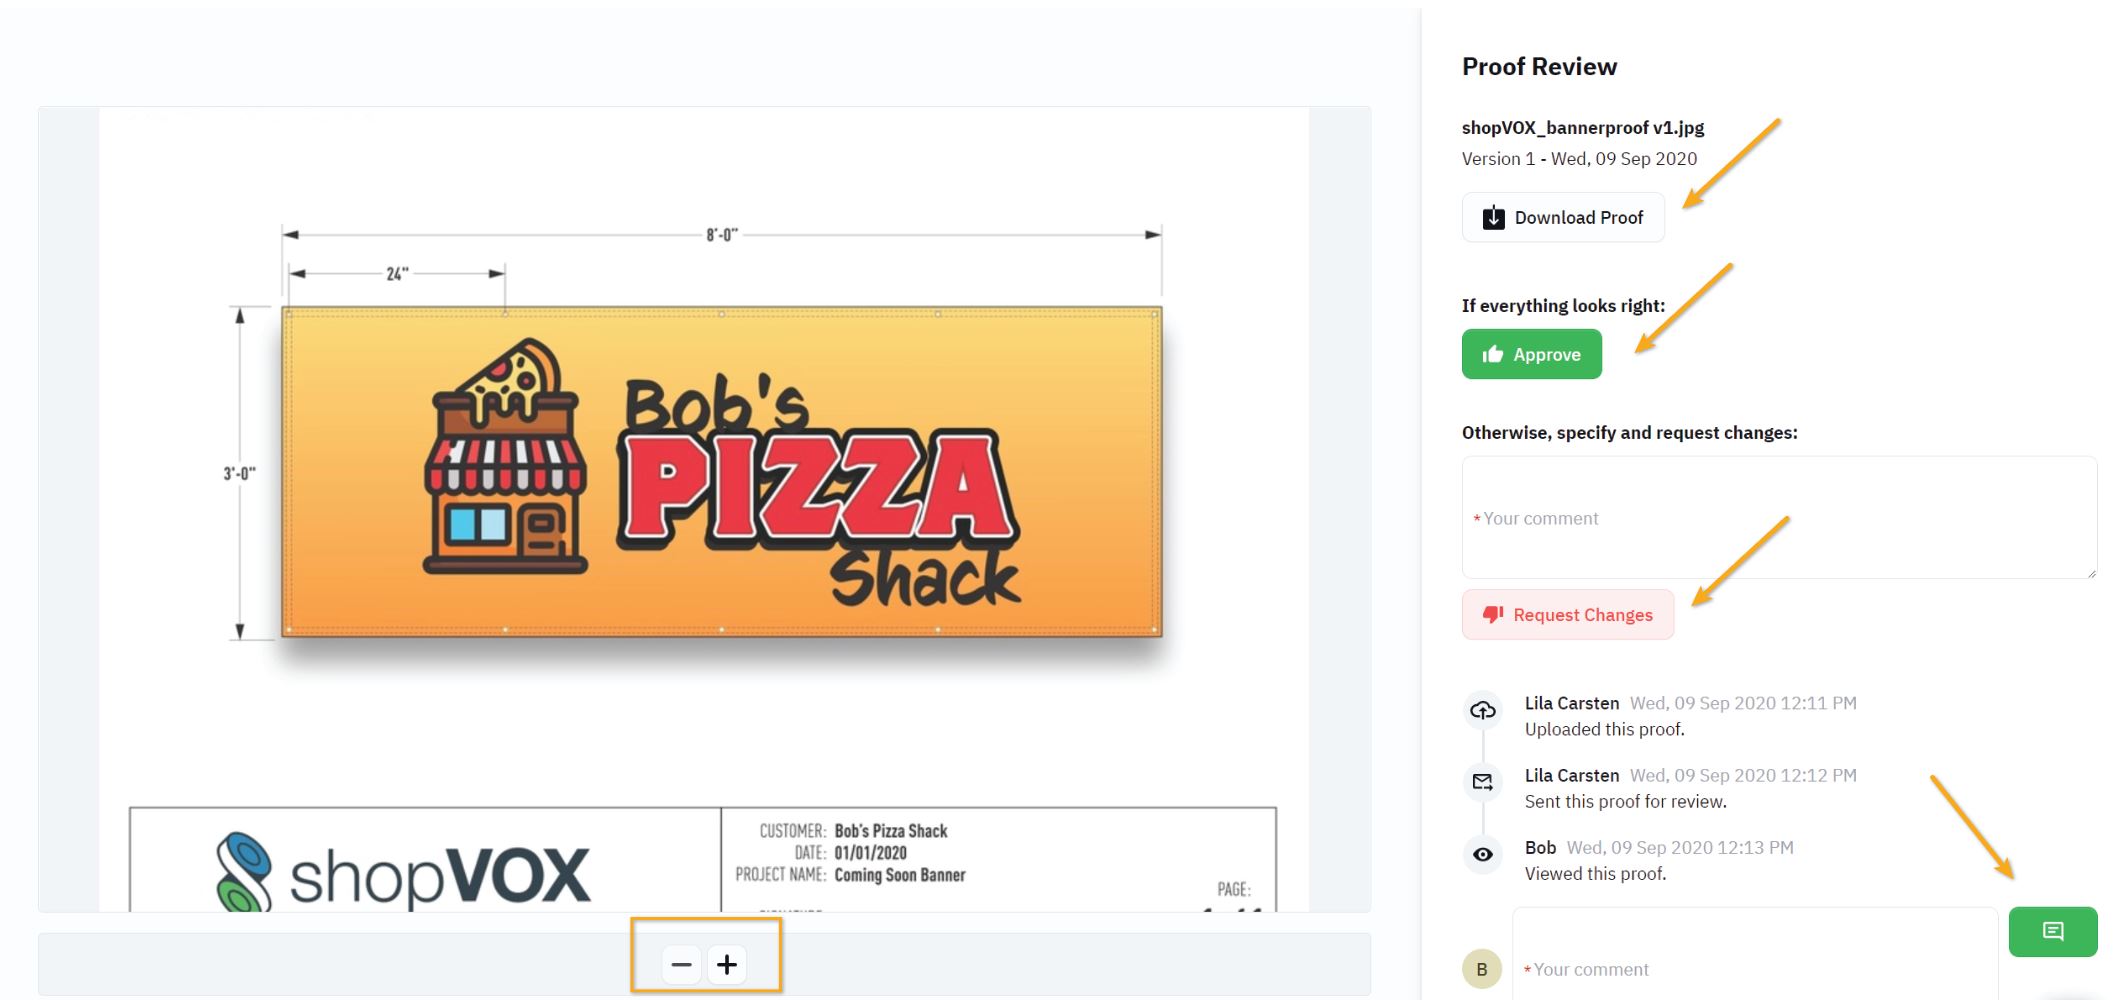
From this screen, your customer has the opportunity to zoom into the proof using the "+" and "-" magnify buttons so they can see the details of the design. They can also download the proof, approve the layout, or request changes and add comments.
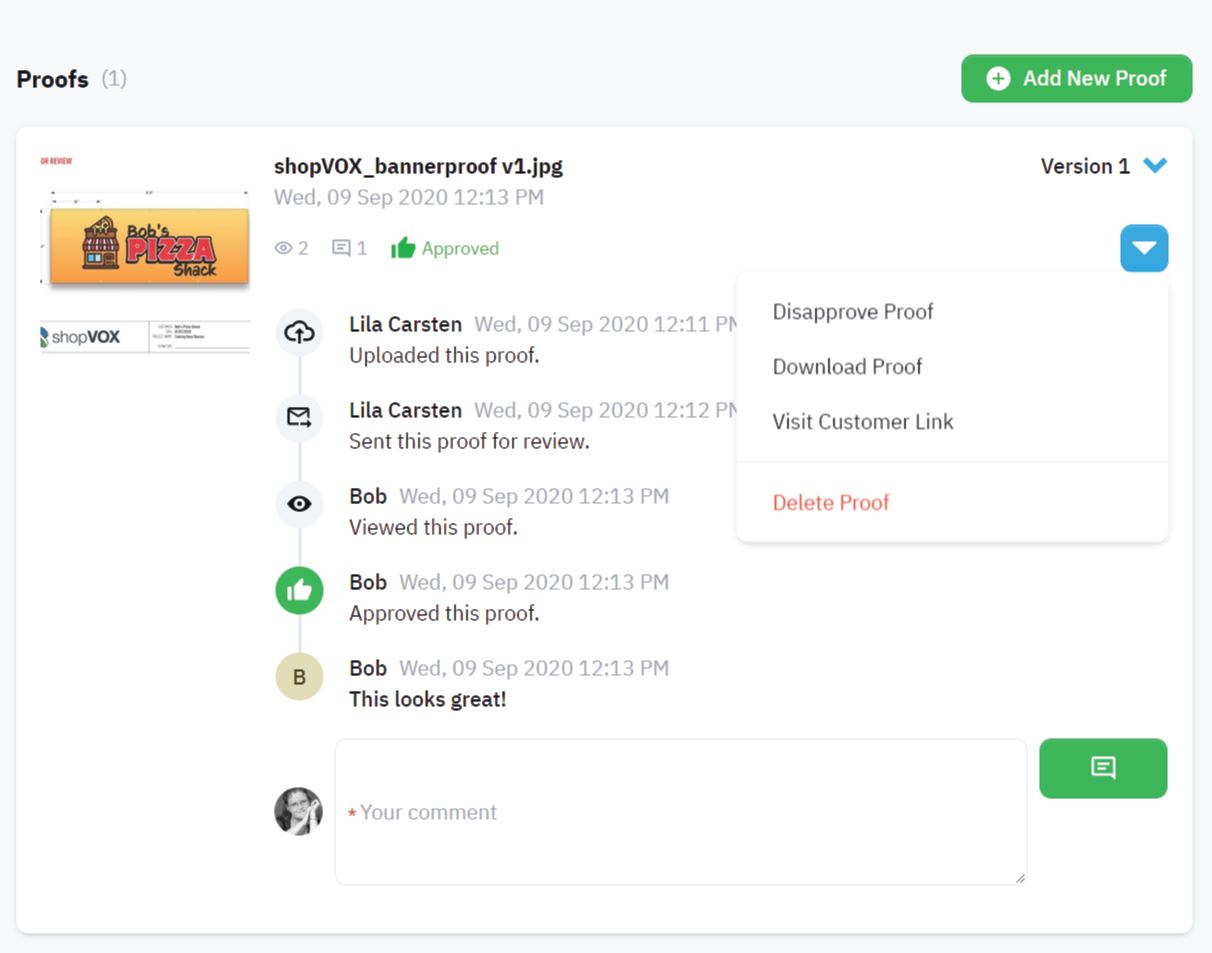
- Back in shopVOX, your screen will update with the new activity data from the proofing link. If your customer approved the proof, you will see an "approved" stamp. Also, review the activity history listed here. Notice that the activity is date/time stamped so you and your team will know if, when and how many times the customer clicked on the link. The blue actions icon will give you more options to manage the proof. Now that your proof is approved, you can move on to the next step in production.
- If the customer requested changes to the proof, then you can repeat the steps to upload a second revision and email version 2 of the proof to your customer for approval.